
A “micro-makeover” is a strategic design approach that focuses on high-impact, non-structural changes. By targeting the kitchen’s “visual skin”—surfaces, hardware, and lighting—you can shift the entire aesthetic without the cost or timeline of a full renovation.
This method is ideal for those who want a professional-grade upgrade while maintaining the existing layout.
1. Upgrade Hardware to “Statement” Metals
Replacing standard builder-grade pulls with high-quality hardware is the most cost-effective way to elevate a kitchen.

- The Strategy: Switch chrome or plastic handles for brushed brass, matte black, or oil-rubbed bronze.
- Pro Tip: Choose “oversized” pulls for a more architectural, custom-built look. Ensure the hole spacing matches your existing hardware to avoid drilling new holes.
2. Refinish with Cabinet-Specific Paint
A new color palette can completely redefine the room’s mood.
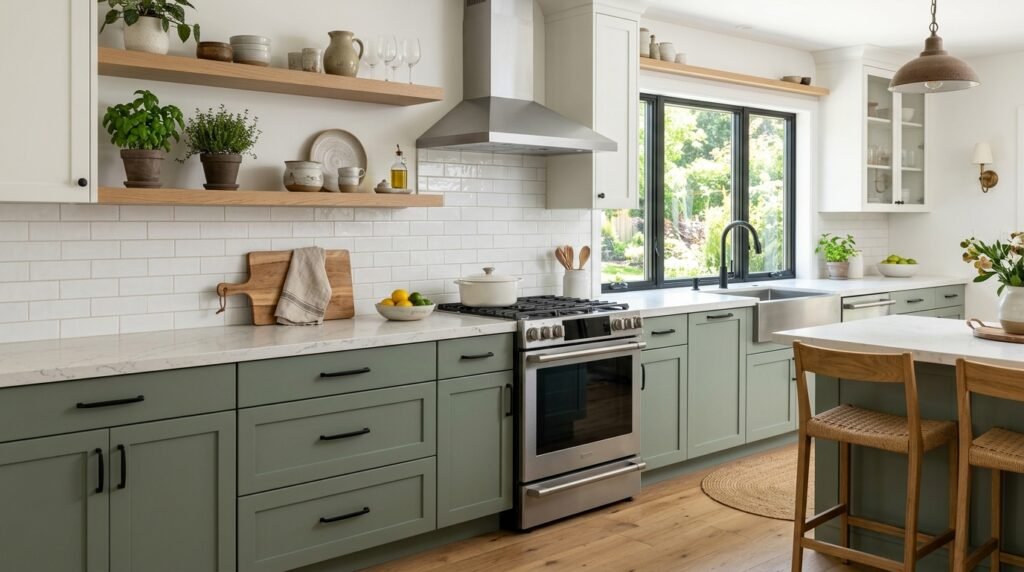
- The Strategy: Focus on the lower cabinets or the kitchen island for a “two-tone” look.
- The Material: Use a specialized alkyd-based cabinet paint (like Benjamin Moore Advance). These paints level out as they dry, hiding brush marks and creating a factory-smooth, durable finish that resists grease and steam.
3. Apply a “Peel-and-Stick” Tile Backsplash
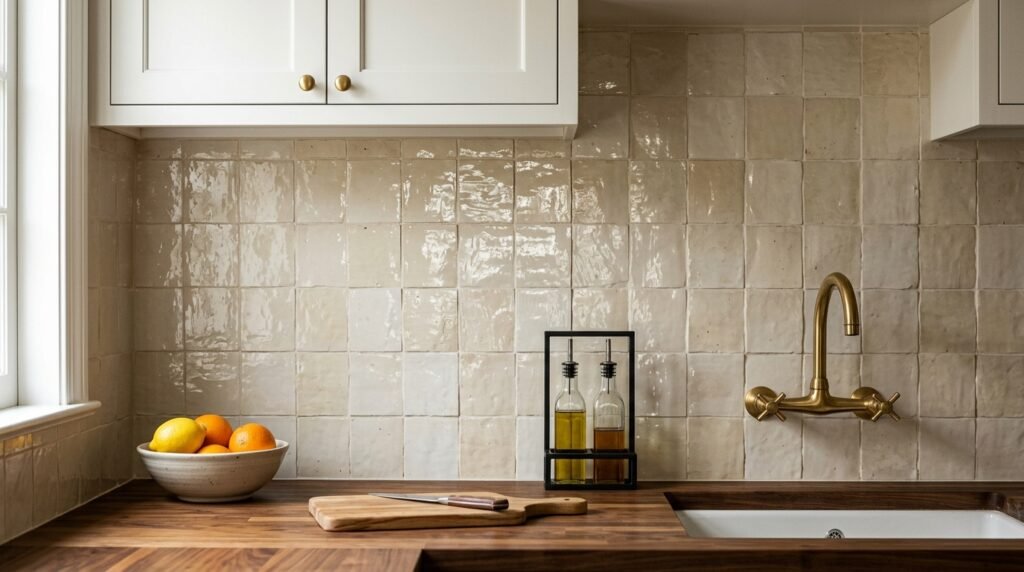
If your current backsplash is dated or plain, modern high-end adhesive tiles can provide an instant correction.
- The Strategy: Look for “gel” or “composite” tiles that mimic the texture of Zellige or Stone.
- The Result: These can be applied directly over existing tile or drywall. They provide a reflective surface that bounces light around the room, making it feel cleaner and more curated.
4. Swap Out the Faucet for a “Bridge” Style
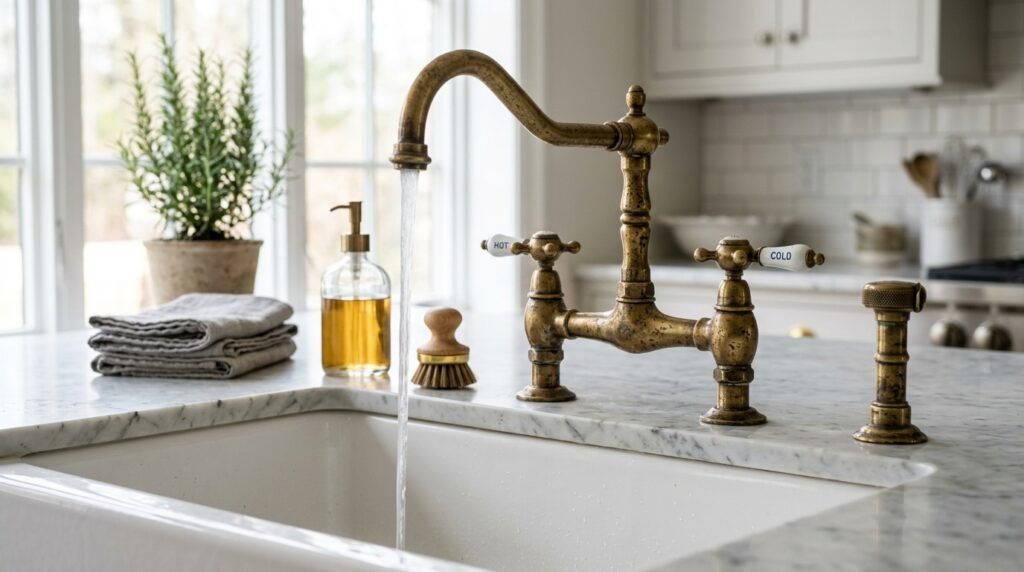
The kitchen faucet is the “centerpiece” of the sink area. Replacing a standard faucet with a Bridge Faucet or a high-arc industrial sprayer adds a significant focal point.
- The Look: Choose a finish that matches your new cabinet hardware to create a unified, professional “metal story” throughout the room.
5. Replace the “Big Light” with Layered Lighting
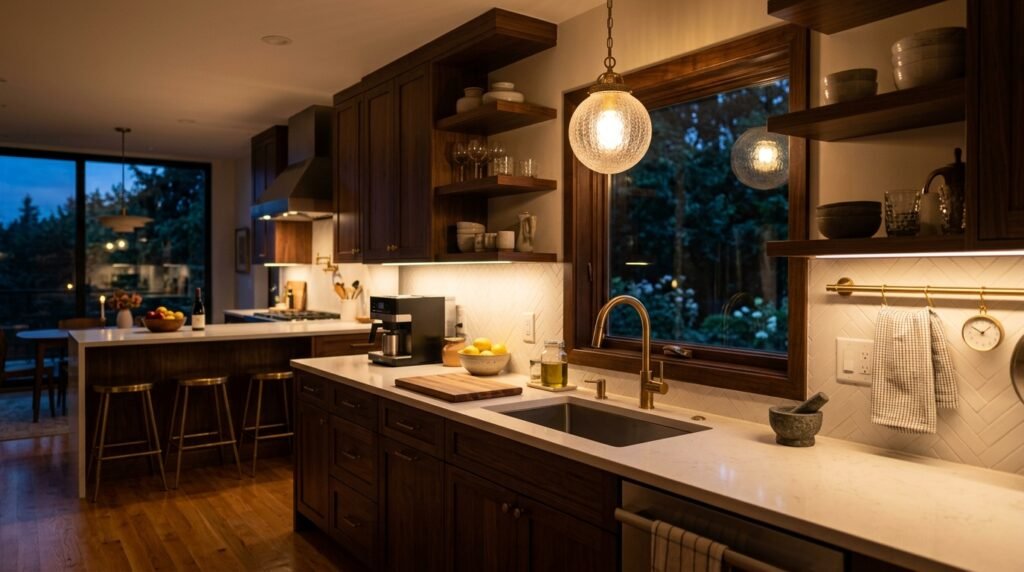
Flat overhead lighting is the enemy of a cozy kitchen.
- The Strategy: Install battery-operated LED puck lights under the cabinets to illuminate the workspace.
- The Focal Point: Swap the central ceiling fixture for a large-scale pendant in a natural material like woven rattan or matte metal. This lowers the visual “ceiling” of the room, making it feel more intimate.
6. Introduce Natural “Functional” Textures
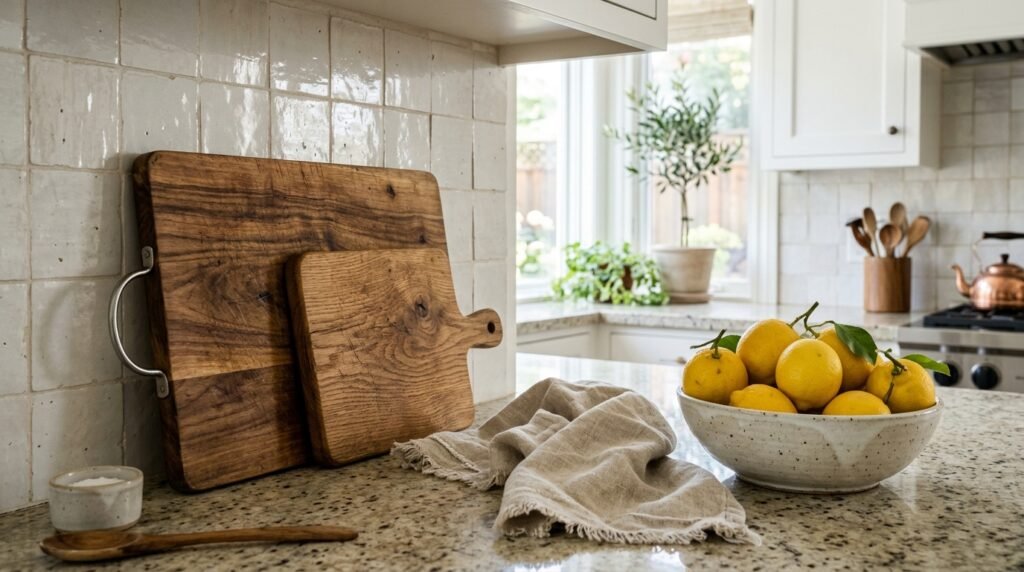
Soften the hard surfaces of the kitchen with organic materials.
- The Strategy: Use a jute or sisal runner to cover dated flooring and lean a stack of wooden cutting boards against the wall.
- The Result: These elements introduce tactile warmth and acoustic dampening, shifting the vibe from “utility” to “living space.”
The Micro-Makeover Budget Breakdown
| Task | Effort Level | Impact | Estimated Cost |
| New Hardware | Low | High | $50 – $150 |
| Cabinet Paint | High | Extreme | $80 – $150 |
| Faucet Swap | Medium | High | $120 – $250 |
| LED Under-lighting | Low | Medium | $30 – $60 |
| Linen/Rug Layers | Low | Medium | $40 – $100 |
Common Mistakes to Avoid
- Skipping the Prep: When painting cabinets, 90% of the success is in the cleaning and sanding. Skipping this leads to peeling paint within months.
- Mismatched Bulbs: Ensure every new light source uses a 2700K or 3000K bulb. Mixing “cool” and “warm” lights makes a kitchen feel disjointed and messy.
- Too Many Trends: Stick to one bold change (like green cabinets) and keep the rest of the makeover neutral to ensure the look stays timeless.
What is your main goal for this makeover—are you looking to brighten the space, or are you trying to hide specific dated features like old countertops?