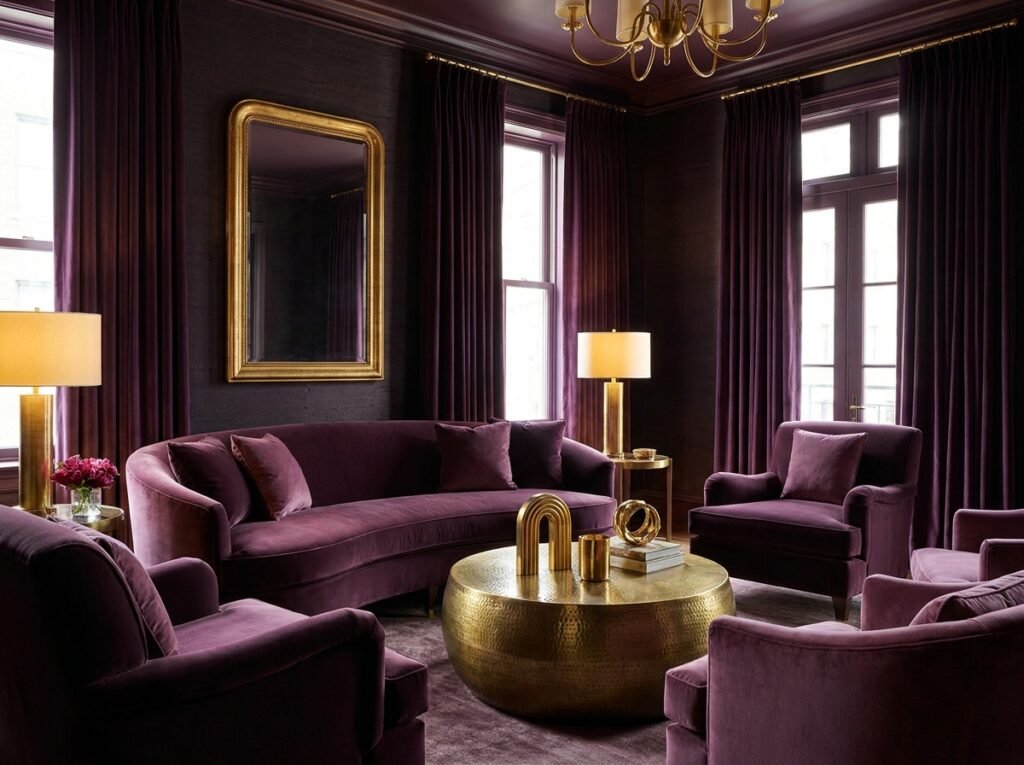
Color drenching is a high-performance design technique where a single pigment is applied across multiple surfaces and textures—including walls, baseboards, window trims, doors, and occasionally the ceiling.
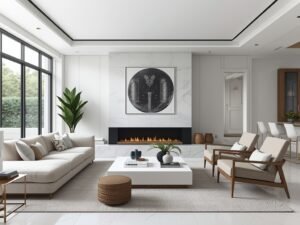
By removing the “visual friction” of white trim and high-contrast boundaries, you create a seamless, monolithic environment that feels expansive, expensive, and intentionally curated. This is the ultimate “NeoBrand” strategy for a living room that demands Visual Authority.
Phase 1: Palette Selection & Light Auditing
In color drenching, the color is the architecture. You must select a hue that can handle being the room’s sole narrative.
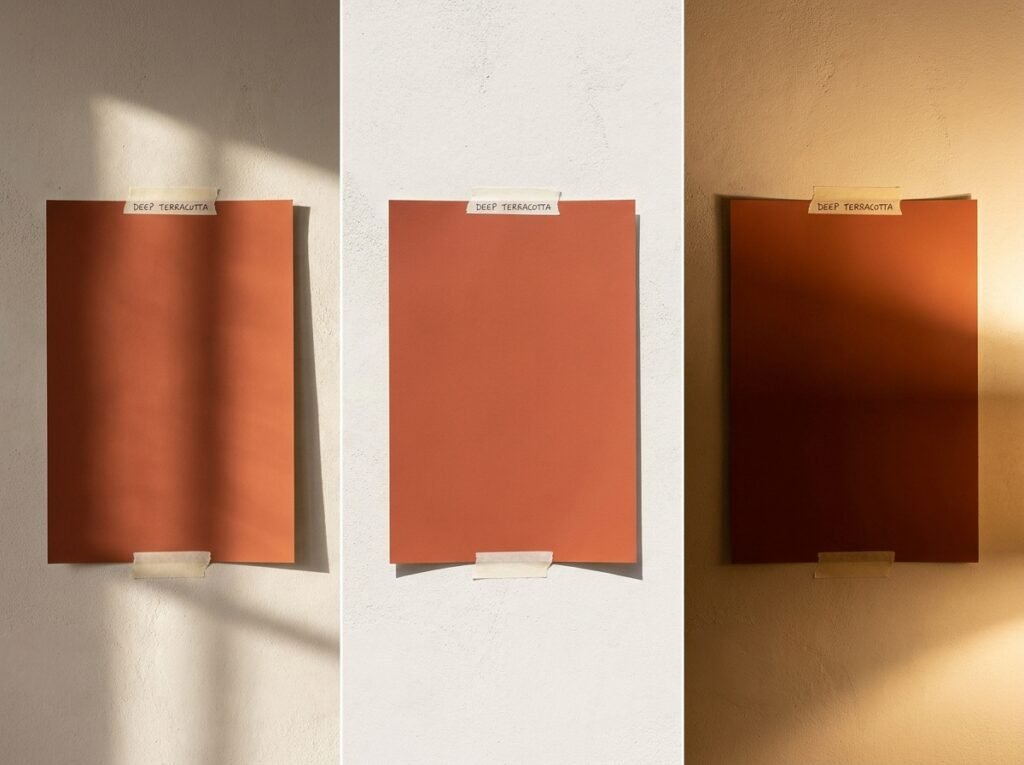
- The 2026 Direction: Opt for saturated “Digital Earth” tones—think deep Aubergine (similar to hex #745acc), Obsidian Teal, or Warm Clay.
- The Light Audit: Observe your room at 10:00 AM (natural light) and 8:00 PM (artificial light). Deep colors “shift” dramatically; a purple that looks royal in sunlight may look black at night.
Phase 2: Material Mapping (The Sheen Strategy)
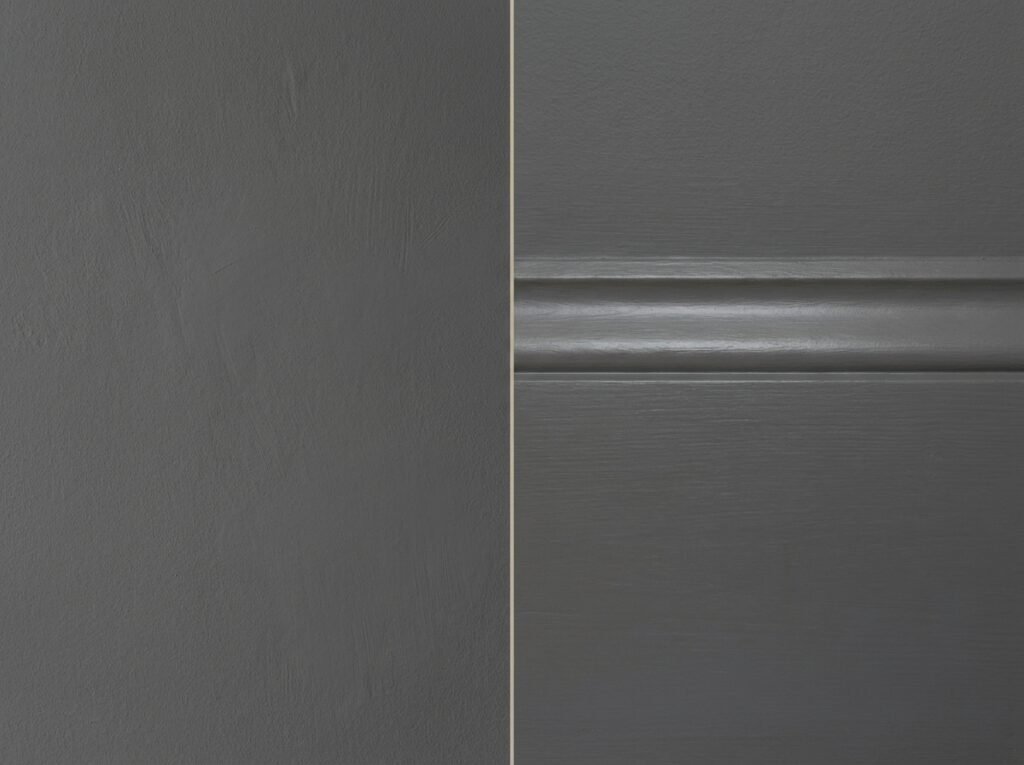
Color drenching does not mean using the same can of paint for everything. You need the same color in different sheens to provide subtle “tactile depth.”
- Walls & Ceiling: Use a Flat or Matte finish. This hides surface imperfections and absorbs light for a velvet-like look.
- Trim, Doors, & Radiators: Use a Satin or Semi-Gloss finish in the exact same color. This provides durability for high-touch areas and creates a rhythmic play of light that defines the room’s structure.
Phase 3: The Surgical Prep
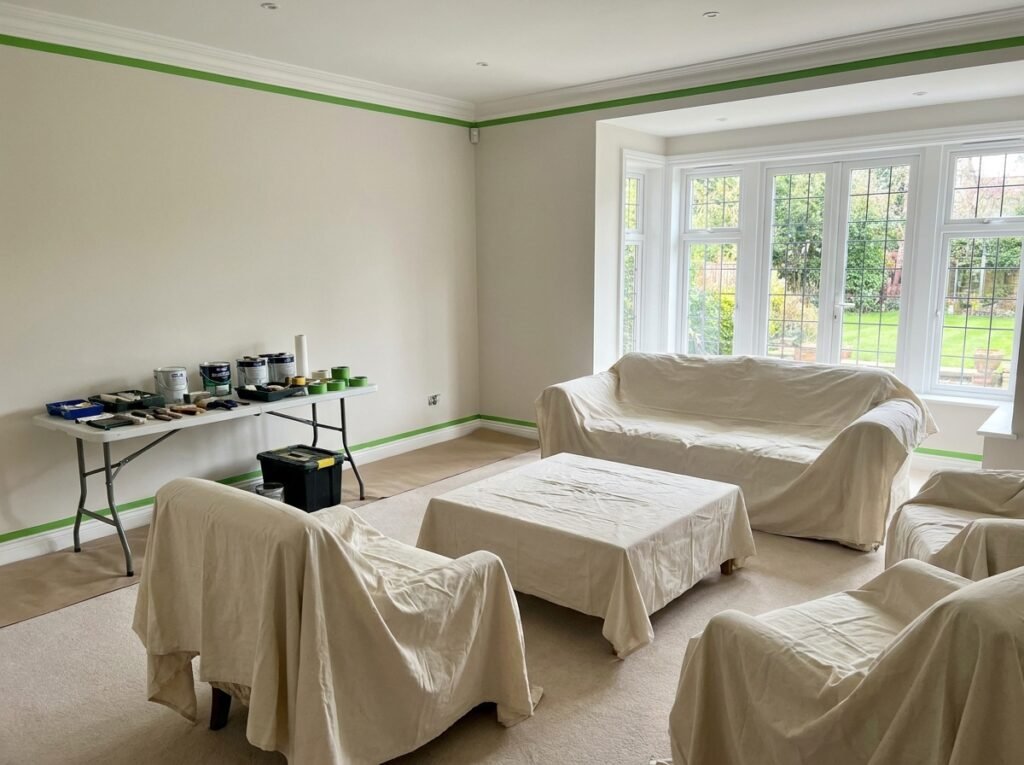
Because you are painting over various materials (drywall, wood, metal), prep is non-negotiable.
- Deglossing: Lightly sand your existing glossy baseboards and doors with 220-grit sandpaper. Paint will not bond to old varnish without “tooth.”
- The Bonding Primer: Use a high-quality bonding primer (like Zinsser Bullseye 1-2-3) on all non-drywall surfaces. This ensures the color remains consistent across different substrates.
Phase 4: Execution Order
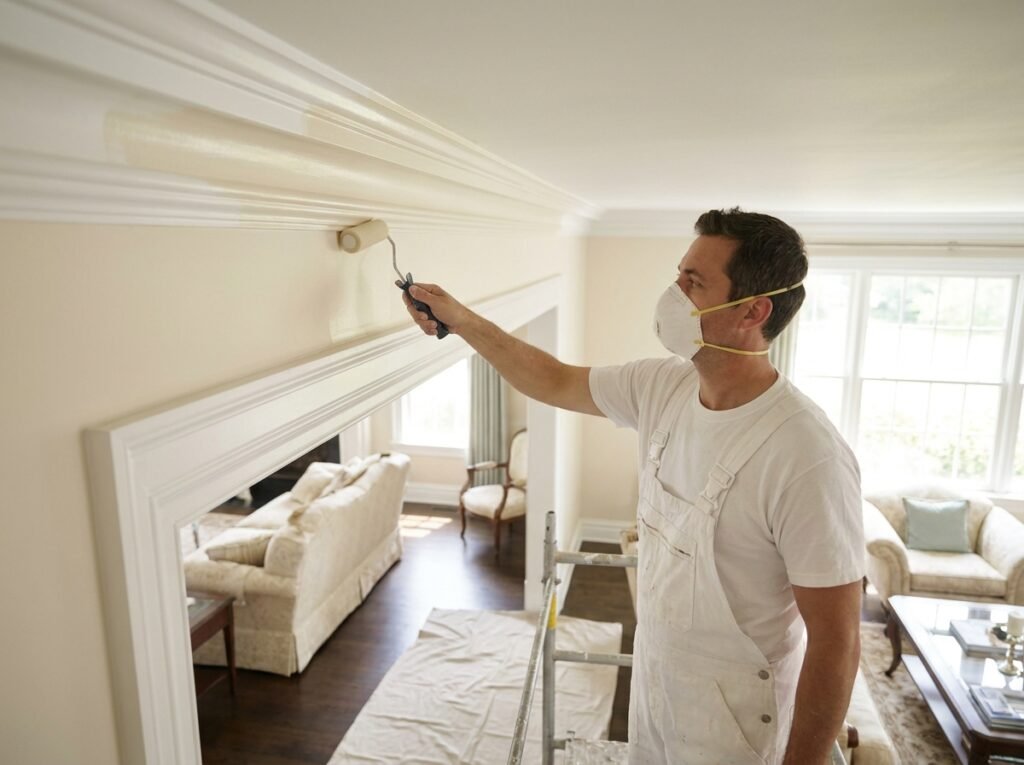
Follow this sequence to ensure a “clean UI” finish:
- The Ceiling: Always start at the top. This prevents “splatter” from ruining finished walls.
- The Crown & Trim: Paint the highest trim elements next.
- The Walls: Use a 3/8″ nap roller for a smooth, consistent application.
- The Baseboards & Doors: Save the high-traffic, higher-sheen elements for last.
Phase 5: Layering the “Soft Architecture”
To complete the “drench,” your decor must follow the color story.
- Curtains: Hang floor-to-ceiling curtains in a fabric that matches the wall color. This turns the window into a “soft wall” and prevents the eye from snagging on a contrasting color.
- Furniture Anchors: Choose a sofa in a tonal variation of your wall color. If your walls are Aubergine, a Lavender or deep Grape velvet sofa provides a sophisticated, monochromatic “gradient.”
Phase 6: The “High-Contrast” Break
A drenched room needs “punctuation.”
- Hardware: Use Brushed Brass or Polished Copper. These warm metals “pop” against saturated backgrounds, acting like the jewelry of the room.
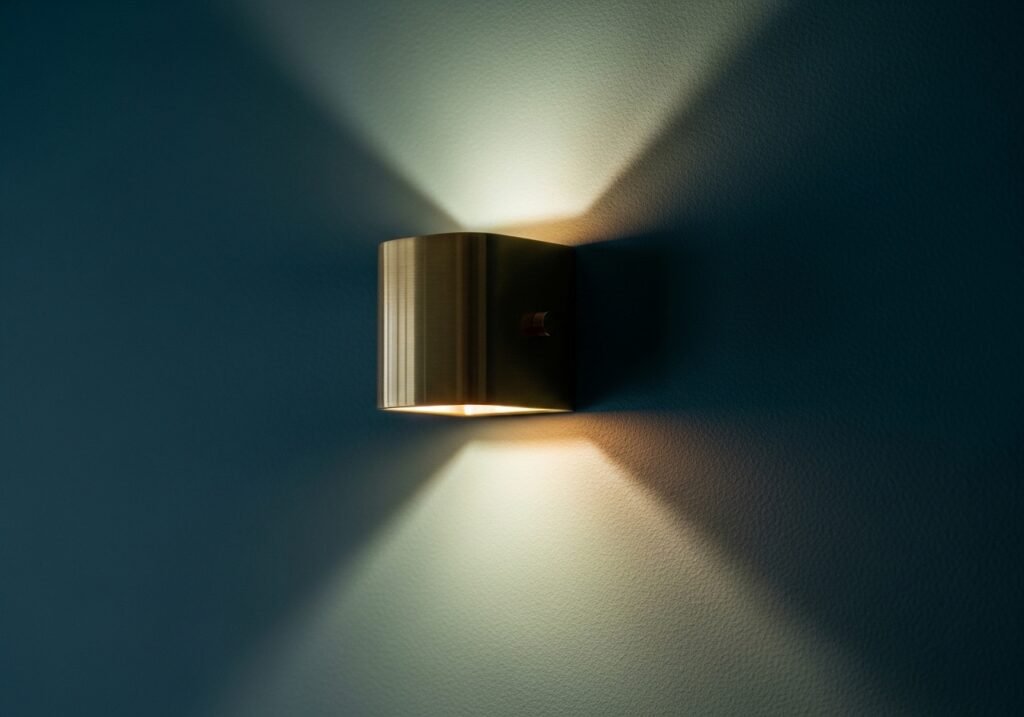
- Lighting: Use warm-dim LED bulbs. The glow of a 2700K bulb against a drenched wall creates a “halo” effect that adds immense atmospheric depth.
The Color Drenching Spec Sheet
| Surface | Recommended Sheen | Why? |
| Ceiling | Flat / Ultra-Matte | Minimizes glare and hides seams. |
| Main Walls | Matte | Provides the “velvet” designer look. |
| Baseboards | Satin | Resists vacuum scuffs and kicks. |
| Window Trim | Satin / Semi-Gloss | Highlights architectural framing. |
| Doors | Semi-Gloss | Durable for high-touch interaction. |
Technical Pro-Tips
- The Grey Primer Hack: If you are drenching in a dark color (Blue, Purple, or Green), use a Grey-tinted primer. This allows the topcoat to reach full saturation in 2 coats instead of 4.
- Outlet Coverage: Don’t forget the switch plates! Paint them (or buy matching ones) so they don’t break the visual flow of the wall.
- The 10% Rule: To keep the room from feeling claustrophobic, ensure 10% of the room features a high-contrast texture—like a light oak floor, a marble coffee table, or metallic hardware.
Are you planning to include the ceiling in your “drench,” or are you keeping it a traditional neutral to maintain some reflected light?