Painting a kitchen island is one of the most effective “micro-makeovers” in interior design. As the central focal point of the room, the island dictates the color story of the entire space. By utilizing advanced paint chemistries and professional preparation techniques, you can achieve a factory-level finish that looks expensive but costs less than $120.
1. Surface De-Greasing and Chemical Cleaning
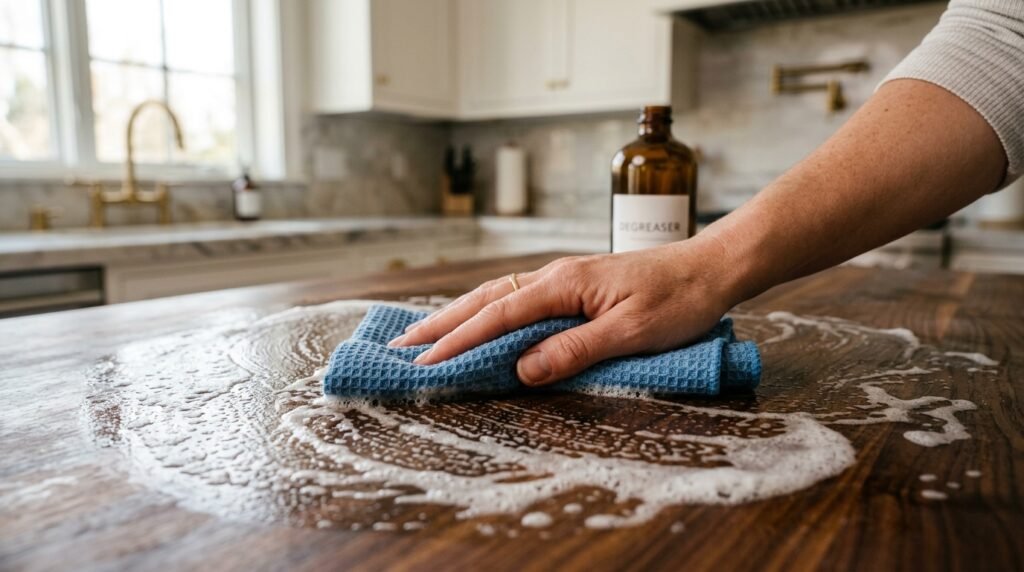
Kitchen environments are saturated with airborne cooking oils that create an invisible barrier on surfaces. To ensure paint adhesion, you must clean the island with TSP (Trisodium Phosphate) or a high-strength degreaser. This step is more critical than sanding; if you sand over grease, you simply grind the oils into the wood grain, which will cause the paint to peel in the future.
2. Mechanical Abrasion (Sanding)
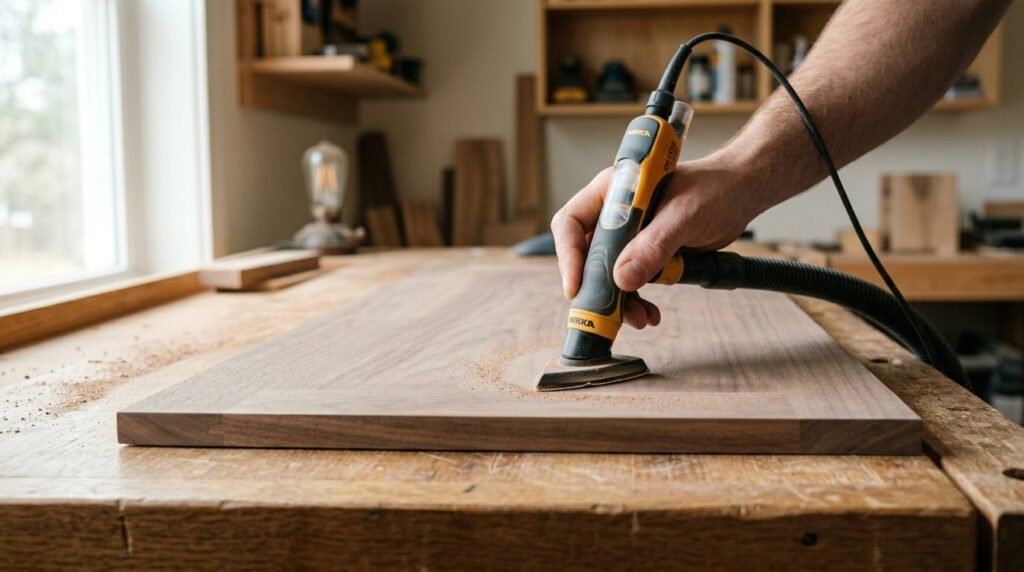
Once the surface is chemically clean, use 220-grit sandpaper to lightly “scuff” the finish. You are not trying to remove the existing paint or stain, but rather to remove the “sheen.” This creates a mechanical “tooth” that allows the primer to bond permanently to the substrate. Always wipe away the dust with a tack cloth before proceeding.
3. High-Adhesion Primer Application

For kitchen cabinetry, never use a “2-in-1” paint and primer. Use a dedicated bonding primer, specifically a shellac-based or oil-based version (like BIN or Zinsser). These primers are engineered to stick to glossy surfaces and prevent “tannin bleed,” which is when the natural oils in the wood seep through and stain your new paint job.
4. Selecting the Topcoat: Alkyd Enamel
The durability of your island depends on the paint chemistry. Use a Water-Based Alkyd Enamel. This specific type of paint behaves like an oil paint—leveling out to remove brush marks—but cleans up with water. It cures to a rock-hard finish that resists the scuffs and kicks typical of a high-traffic kitchen island.
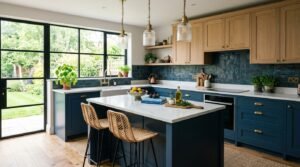
5. The Modern “NeoBrand” Aesthetic
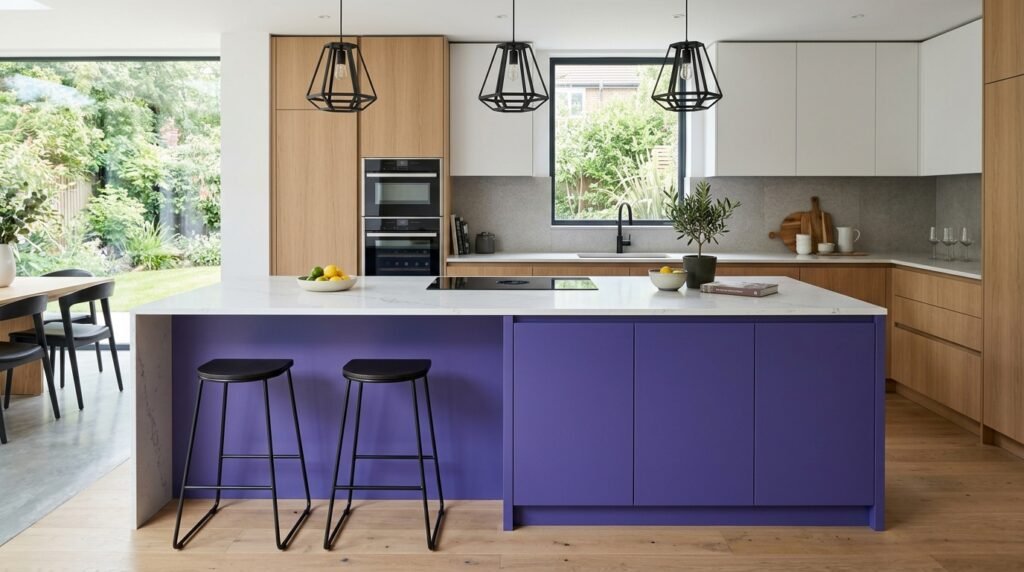
While neutrals are safe, the current trend is shifting toward “NeoBrand” color drenching for islands. Using a saturated, modern hue—like a deep architectural purple—creates a graphic focal point that looks incredible in digital photography and editorial layouts. A bold island paired with neutral perimeter cabinets provides a curated, designer look for the cost of a single gallon of paint.
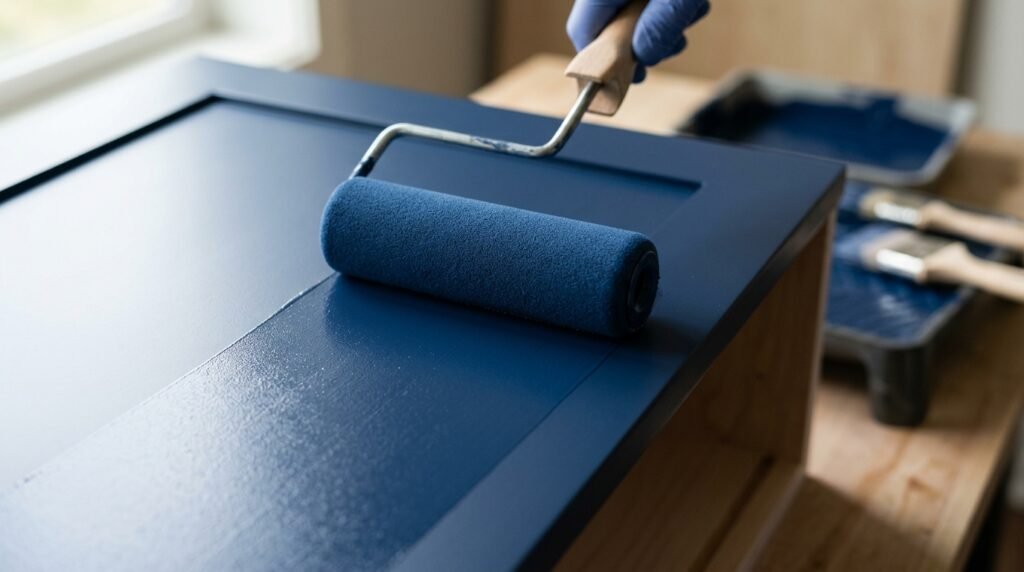
6. Utilizing Foam Rollers for a Spray-Like Finish
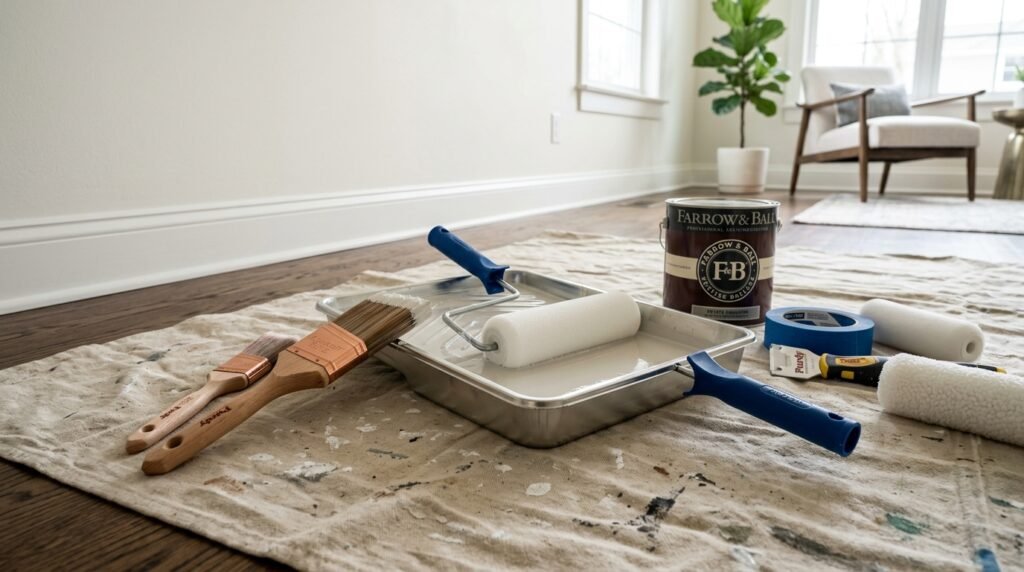
To get a professional look without an expensive sprayer, use high-density foam rollers. These rollers do not have a “nap,” meaning they don’t leave the orange-peel texture associated with standard rollers. Apply the paint in thin, even coats, and “back-brush” any corners with a high-quality synthetic brush.
7. Inter-Coat Sanding for Maximum Smoothness
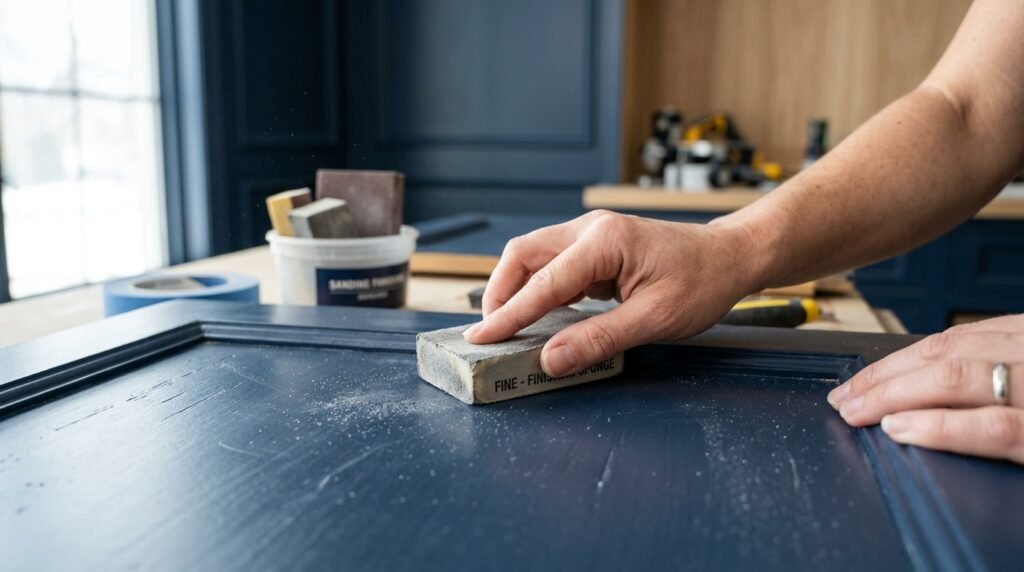
Professional painters always sand between coats. Once the first coat of paint is dry, use a 320-grit or 400-grit sanding sponge to lightly buff the surface. This removes any dust motes or bubbles that settled during drying. This tiny extra step is what makes the final surface feel like factory-installed cabinetry.
8. Integrated Hardware Upgrade
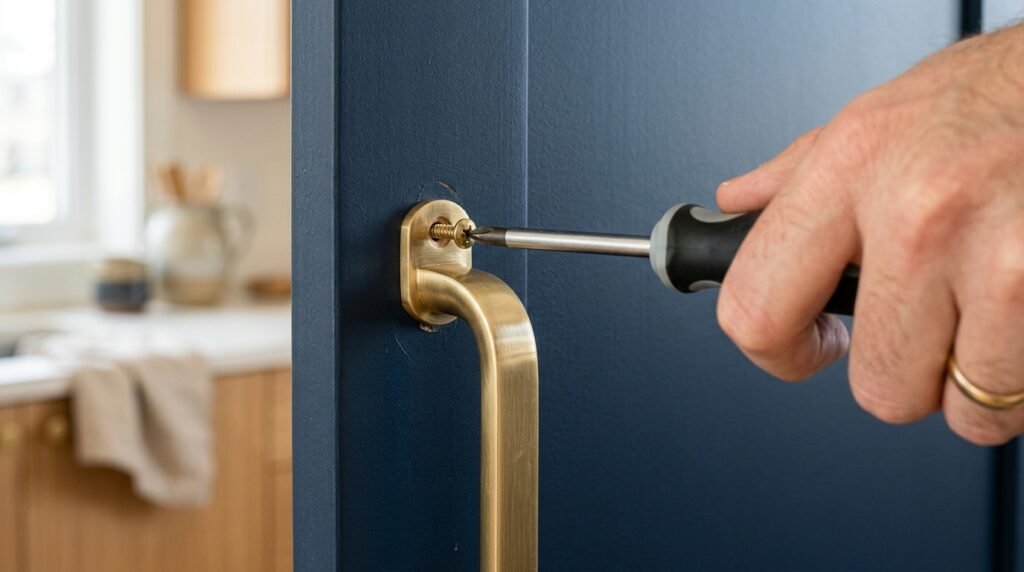
Your budget makeover isn’t complete without new hardware. Swapping old pulls for brushed brass, matte black, or honey bronze hardware provides the necessary contrast to make the new paint color pop. In modern design, oversized handles (6 inches or longer) are preferred to give the island a more architectural and custom-built appearance.
9. Understanding Cure Time vs. Dry Time
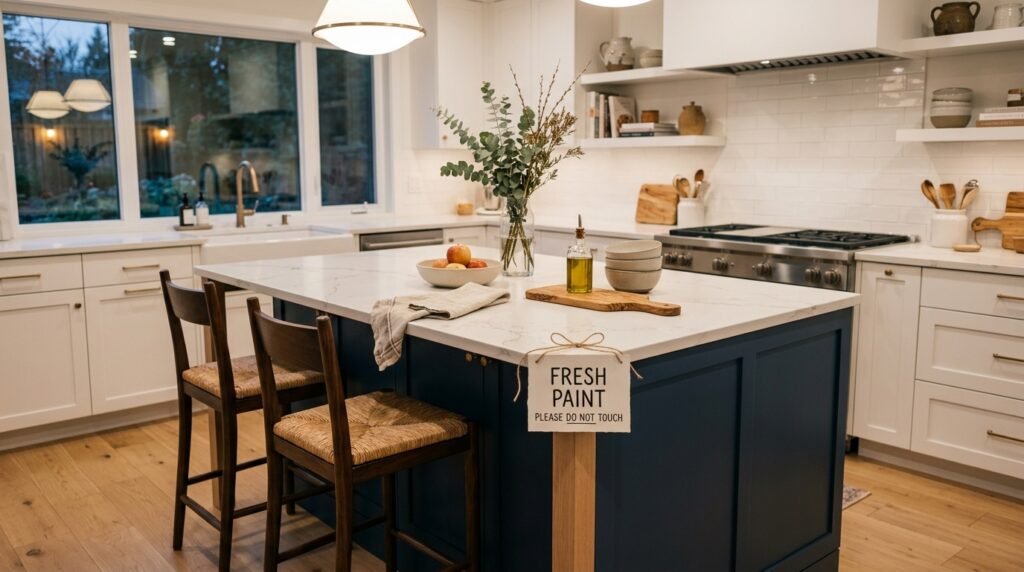
While the paint will be “dry to the touch” in 2 hours, alkyd paints can take 14 to 30 days to fully cure to their maximum hardness. During this time, avoid using harsh chemicals or allow children/pets to kick the island. Once cured, the finish will be incredibly resilient and easy to wipe clean with a damp cloth.
10. Documenting the “Appetizing Realism”
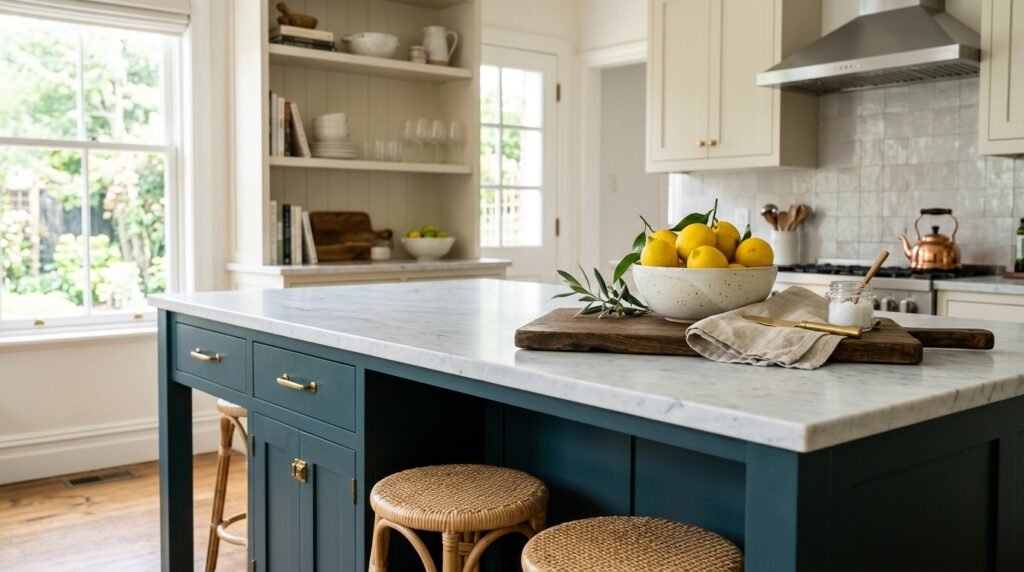
If you are documenting your DIY success for a blog or social media, focus on “Appetizing Realism.” Style the island with natural textures like wood boards and fresh fruit. Use side-lighting from a window to highlight the matte texture and the lack of brush strokes. This professional-grade imagery validates the high-quality result of your budget-friendly upgrade.
Project Supply Checklist & Budget
| Item | Professional Recommendation | Estimated Cost |
| Cleaner | TSP Substitute | $8 |
| Primer | Shellac-Based Bonding Primer | $25 |
| Paint | Alkyd-Enamel Cabinet Paint | $40 |
| Sanding | 220 & 400 Grit Sandpaper | $12 |
| Tools | High-Density Foam Rollers/Brush | $20 |
| Total | Professional Island Overhaul | $105 |