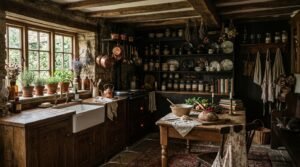
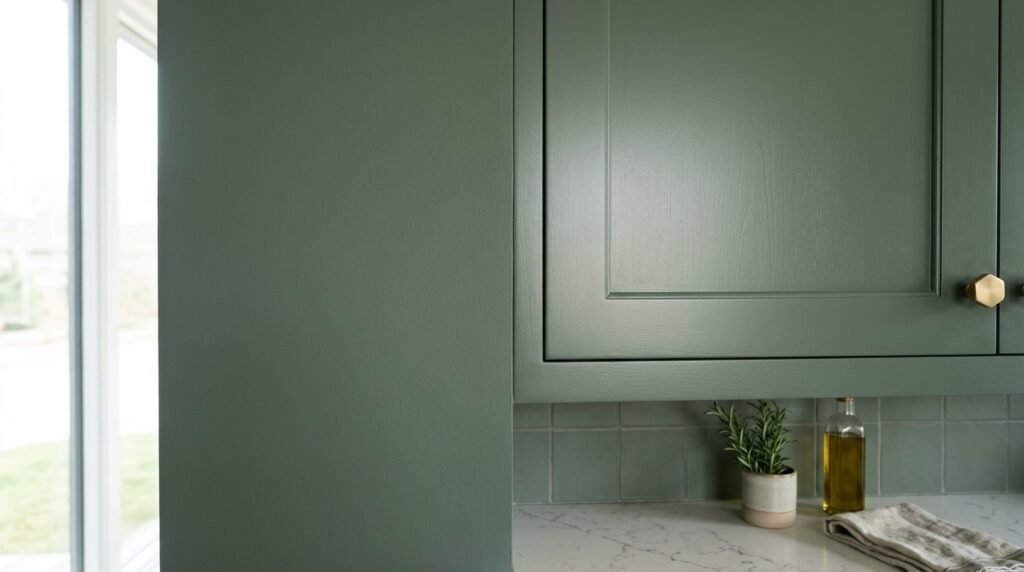
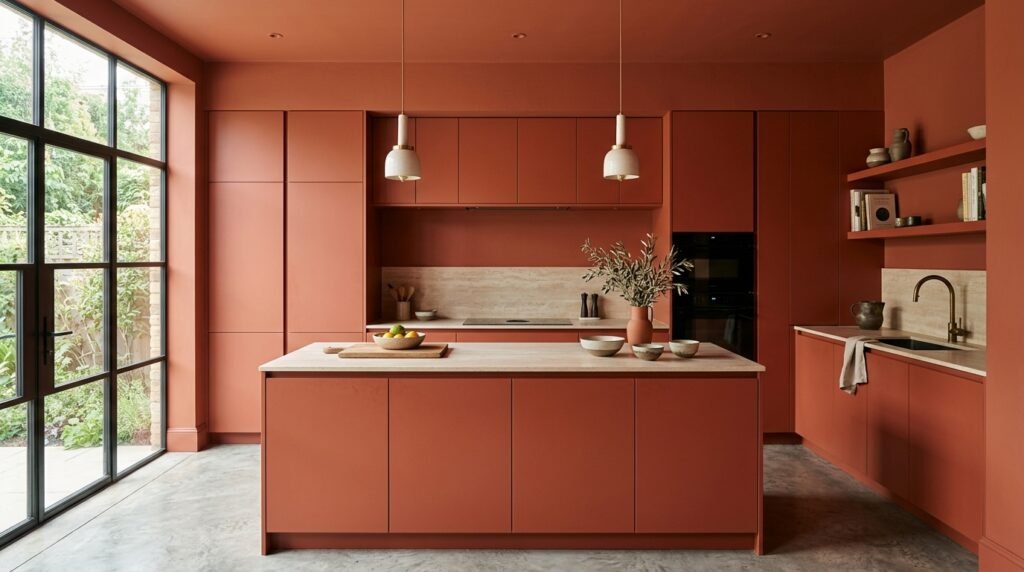
“Color drenching” is an architectural design technique where the walls, trim, ceiling, and often the cabinetry are painted the exact same color. By eliminating the visual contrast between these surfaces, the boundaries of the room blur, creating a seamless, high-end “cocoon” effect.
The primary advantage of this aesthetic is its cost. It requires no structural changes, no new materials, and no expensive hardware. The entire transformation relies on the strategic application of paint. This guide outlines how to execute a professional-grade color drenching project on a strict budget.
1. The Monochromatic “Seamless” Strategy
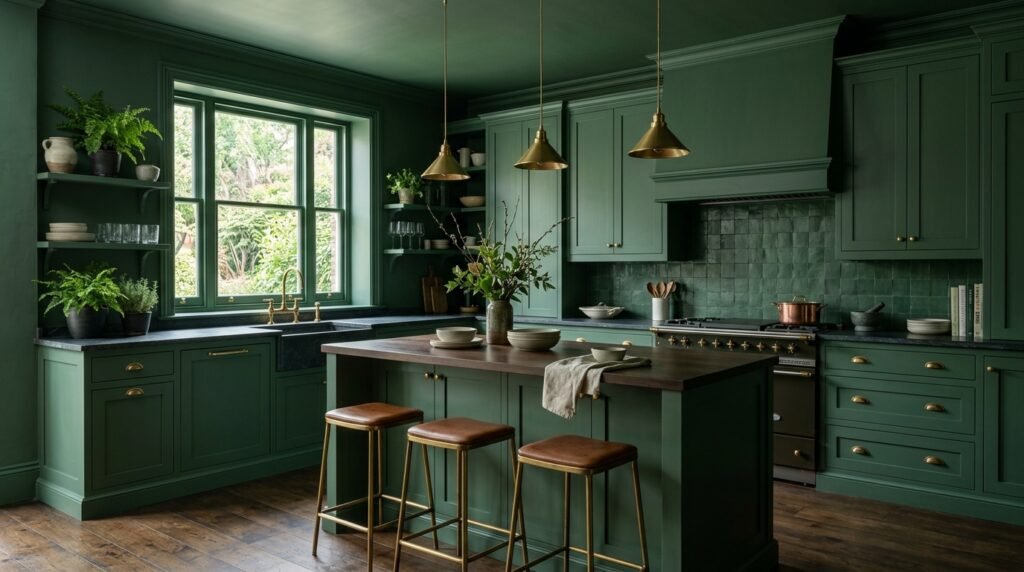
The core principle of color drenching is applying a single pigment across multiple surface textures. By painting your existing baseboards, window casings, and doors the exact same color as the walls, you hide the “builder-grade” seams of the room. This instantly elevates the perceived value of the space, as custom, matching millwork is a hallmark of luxury design. The cost is simply the price of a few extra gallons of paint.
2. NeoBrand Modernism and Bold Pigments
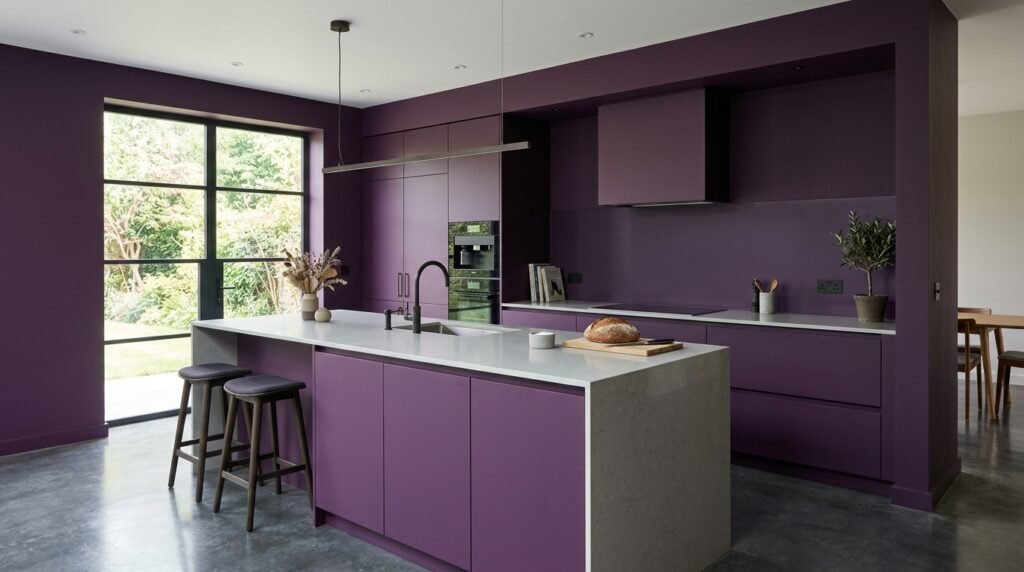
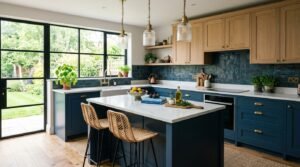
While traditional cottage styles lean toward greens and blues, a modern, “NeoBrand” aesthetic can be achieved by utilizing bold, graphic colors. A deep, saturated purple—echoing modern digital brand shades like hex #745acc—provides a highly contemporary, striking environment. When applied across every surface, even unconventional colors feel intentional and grounded rather than chaotic.
3. The “Appetizing Realism” Photography Backdrop
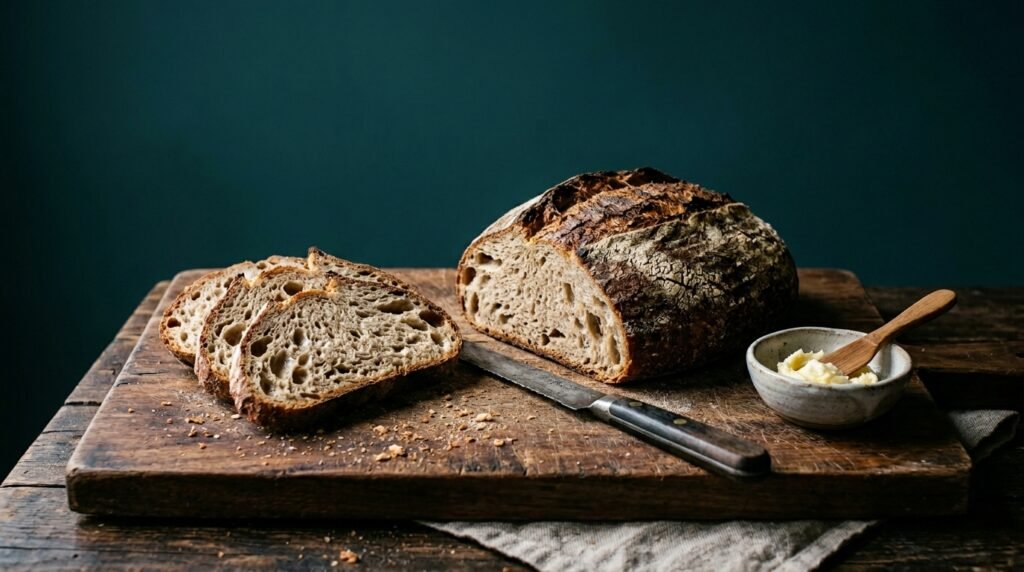
Color drenching offers a distinct functional advantage for culinary documentation. By removing the high-contrast lines (such as white trim against a dark wall), the kitchen transforms into a seamless, matte studio environment. This “infinity curve” effect is optimal for capturing “Appetizing Realism” in food photography. It allows the textures, steam, and natural lighting of the dishes to remain the absolute focal point without background architectural distractions.
4. Ceiling Integration for Visual Expansion
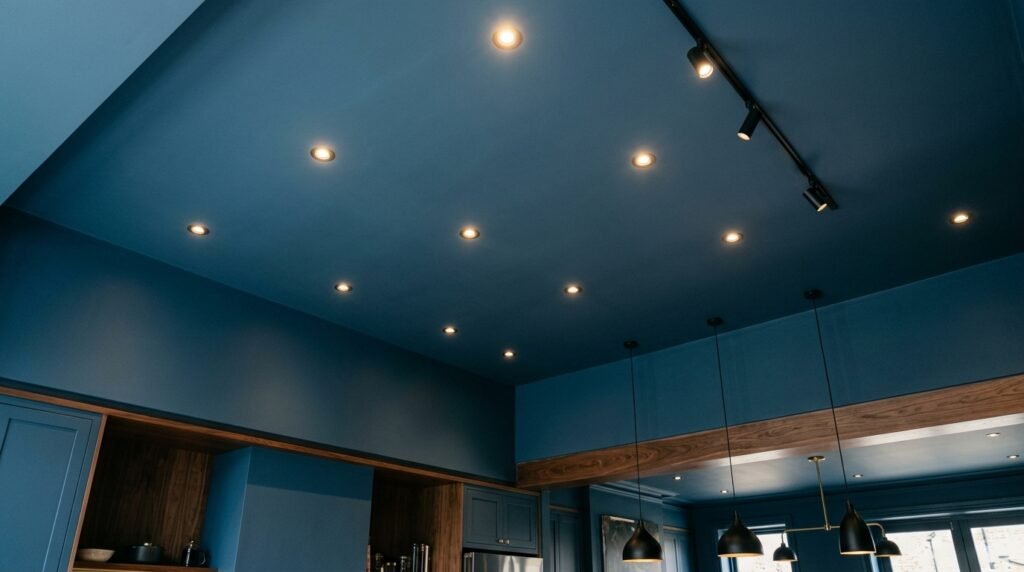
A standard white ceiling in a dark room creates a visual “lid” that can make the space feel squat. Painting the ceiling the same color as the walls draws the eye upward and blurs the upper boundaries of the room. This makes low ceilings appear higher. Because ceiling paint is relatively inexpensive, this is a low-cost, high-yield tactic.
5. Utility Camouflage: Hiding the “Ugly”
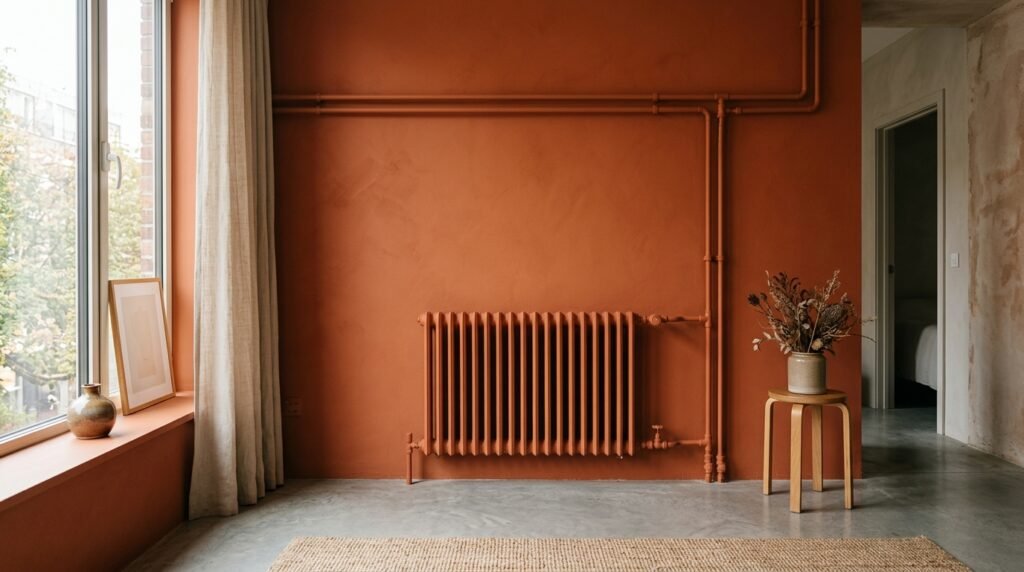
Older kitchens often feature exposed pipes, dated radiators, or awkward soffits. Replacing or removing these is expensive. Color drenching solves this through camouflage. By painting these utility elements the exact same color and finish as the wall behind them, they visually disappear into the background architecture.
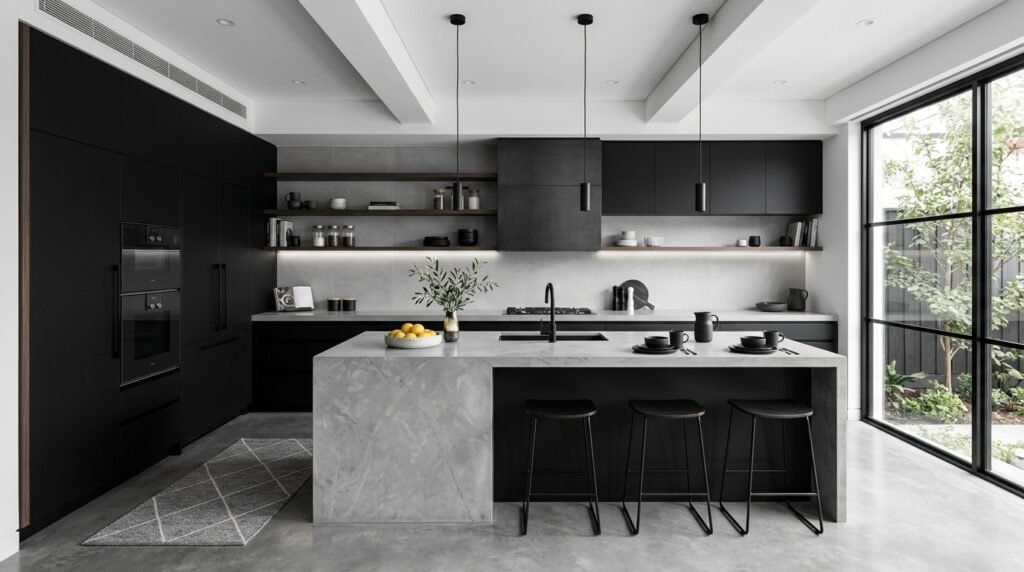
6. The Sheen Shift: Using Finishes for Depth
To prevent a color-drenched room from feeling entirely flat, vary the paint sheen rather than the color. Use a flat or matte finish for the walls and ceiling, and a satin or semi-gloss finish for the trim and cabinets. This allows light to reflect differently off the surfaces, highlighting the architecture of the room using the same batch of color.
7. Budget Cabinet Refinishing
New cabinetry accounts for the largest portion of a kitchen renovation budget. If the existing cabinet boxes are structurally sound, cleaning, sanding, and painting the doors to match the walls integrates them perfectly into the color-drenched aesthetic. Use an alkyd-enamel paint for the cabinets to ensure a durable, factory-like hardness.
8. Switch Plate and Outlet Integration
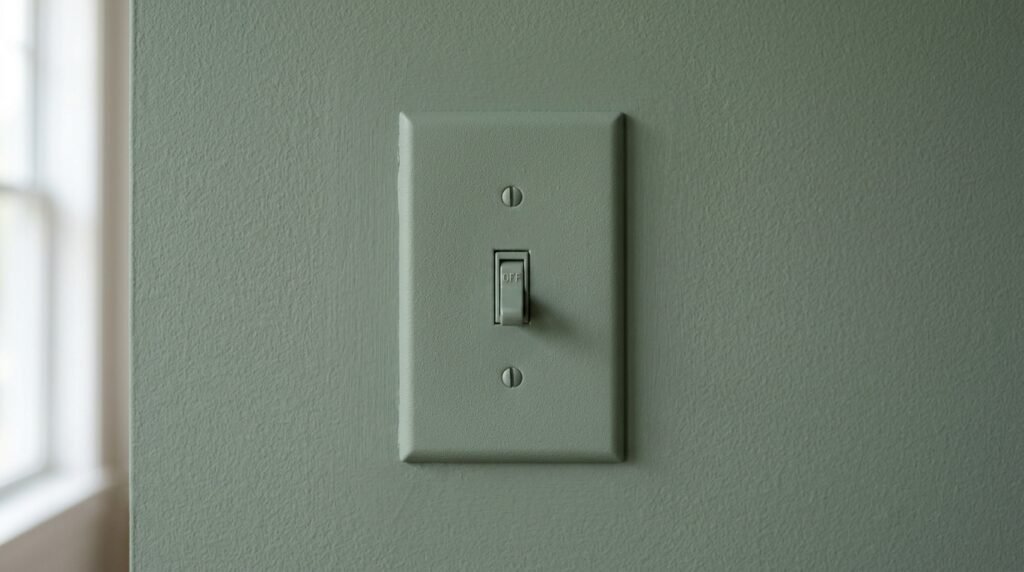
White plastic outlet covers and switch plates act as visual clutter on a dark, color-drenched wall. A $10 can of spray primer and careful application of your wall paint over these plastic covers ensures the monolithic look remains uninterrupted. This micro-detail is what separates amateur DIY projects from professional styling.
9. Color-Washing Thrifted Furniture
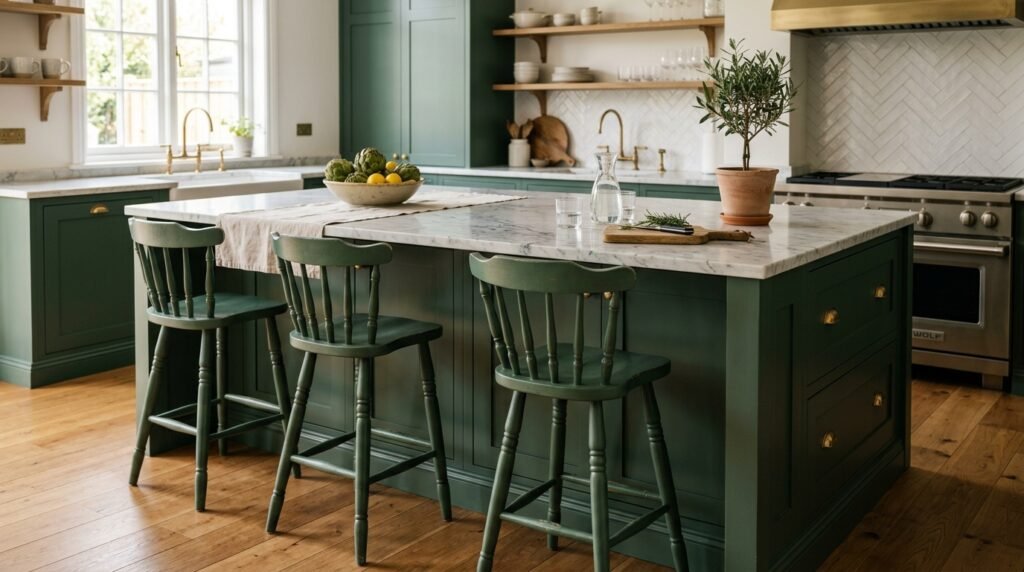
A budget-friendly way to increase the drenching effect is to include the furniture. Source inexpensive, mismatched wooden bar stools or a secondhand kitchen island. Prime and paint them the exact same shade as the room. This unifies different furniture styles under one cohesive “brand” color, making cheap items look like custom, built-in pieces.
10. SEO and Visual Discoverability Optimization
From a digital publishing perspective, color-drenched spaces perform exceptionally well visually. Structuring the room’s design around high-impact, monochromatic focal points ensures the imagery stands out in competitive feeds. This bold, zero-clutter visual strategy is highly effective for capturing attention on image-heavy platforms and optimizing for Google Discover visibility.
Cost Breakdown for a Color-Drenched Kitchen
| Surface Area | Recommended Paint Type | Estimated Cost (DIY) |
| Walls & Ceiling | High-Quality Matte Acrylic | $60 – $120 |
| Cabinets & Trim | Alkyd-Enamel (Satin/Semi-Gloss) | $80 – $150 |
| Prep Materials | Degreaser, Sandpaper, Painter’s Tape | $30 – $50 |
| Total Estimated Cost | Complete Visual Overhaul | $170 – $320 |
Are you planning to apply this color drenching technique to a specific room layout, or are you currently deciding on the primary color palette?